Gary
Author Comments aka Comic News
Comic creation
Well, in a last minute bit of insanity, I turned in my frequent flier miles and booked a flight to Rhode Island, for Digital-Overload. I'll be getting in Saturday morning at around 9:30am, playing video games until probably after midnight, sleeping until they open again,
playing more games, and then flying back home. It ought to be a lot of fun. The event was just too important to me, to not go. If any of you are going and you want to meet up while I'm there, give me a shout via email, or look for me there, my user name will be something
along the lines of blackvipers_relm.
As I've mentioned before, I started doing this comic after I saw Tim Buckley demonstrate how he does his comic (which he does much better than I do). So, I thought it would be cool to try and do the same. Hopefully it will inspire someone out there to start their own comic. Below are all the steps I took in doing today's comic.
Step 1 (the idea)
While talking with a friend, he told me how his tv was slowly dieing (after many, many years of good service), and an idea popped into my head.
Step 2 (the rough outline)
Normally I write down the joke when I think of it, and maybe some action clues. For today's comic, this is what I wrote:
...always to vibrant, so full of life.
and she knew everything about everyone.
and when she showed us a situation, if was like it came to life
*sniff* *sniff* I'll truly miss the old girl, and all the moments we shared.
>them pulling straps to pick up the "coffin"<
God. How much did she weigh?
Well she was a big one, a 52 incher.
>"them lowering the box and the tv that's in it into a grave"<
fair well my sweet. You shall be missed.
Step 3 (the template)
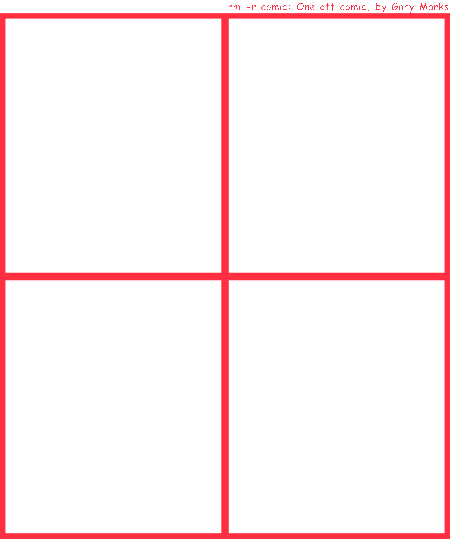
So, since I've been doing these for a while, I have a template made for most of the formats I use. They have layers for each panel, it's foreground and background, a layer for text bubbles, a layer for color, a layer for the outside frame set and the text at the top, and a white background layer. Below is what the template looks like flatten.
Step 4 (the rough story board)
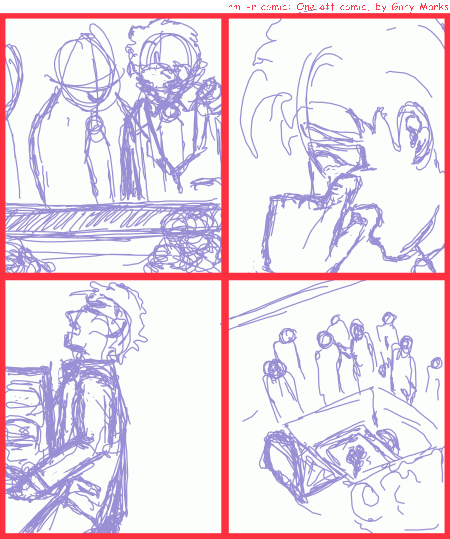
This is just an extremely rough sketch of how the action is going to play out through the panels. Many times, this ends up being altered a bit as I go, sometimes it gets altered a
lot, if I think up a better angle or change the text a lot. Below is this comic's story board.
Step 5 (the rough sketch)
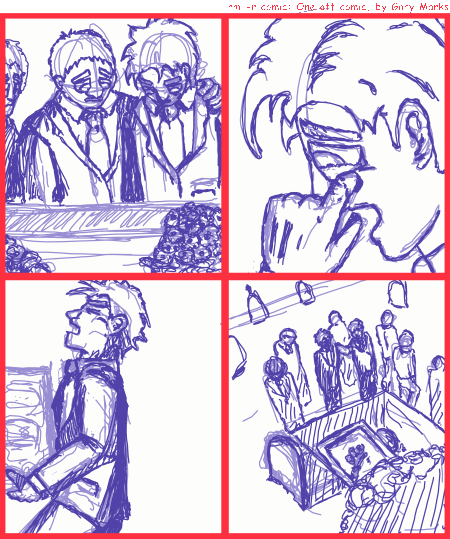
This is where I sketch out each panel, so I can "ink" it later. The inking and sketching in what I do, all take place on my laptop. I used to do steps 4 and 5 on paper, but recently I've found that the touch screen works just as well for me. Below is today's rough sketch on top of the story board. (this is how I work, I keep layering on top until the final stages.)
Step 6 (the inking)
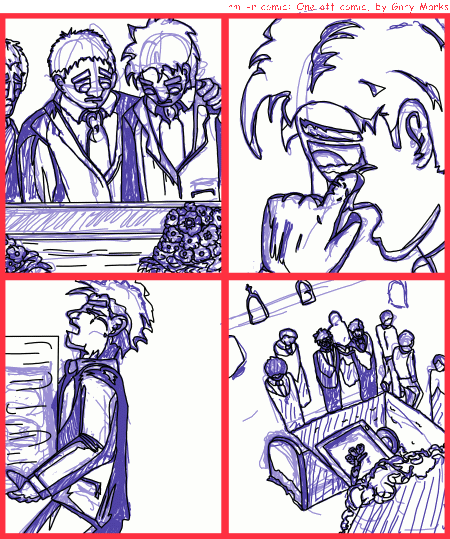
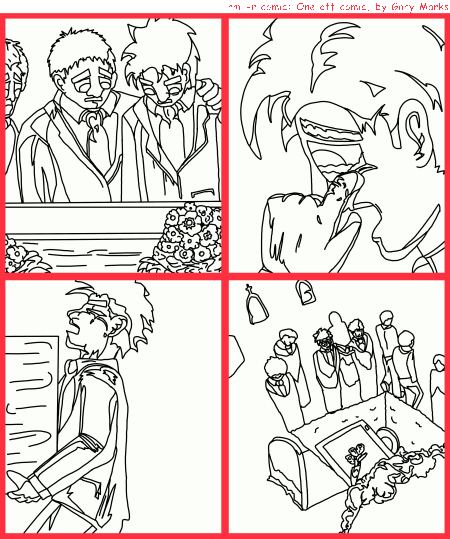
This is where I take the sketch and redraw the panel on top of it. I make the lines more definitive and often fix proportions and angles here. Below you'll see the inked version on top of the previous layers, which is how I work, and the inked layer by itself. The inked layer by itself is what I copy for the color layer. As I finish a panel, I hid the sketch
layers and double check that the inked layer looks the way I want it to.
Step 7 (the foreground color)
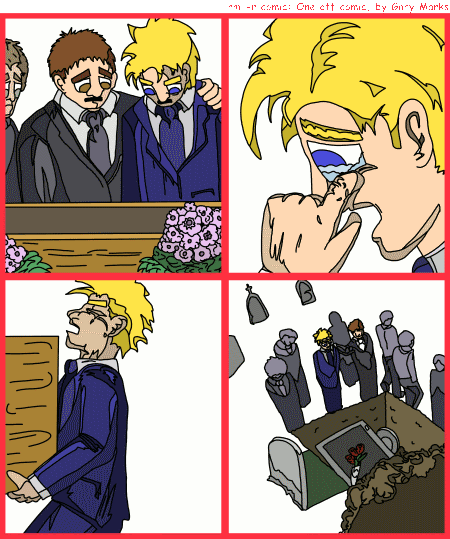
In this step, I copy all the inked panels into one layer, and I pick and choose my colors. I only fill in the foreground here, and background characters that aren't going to be part of the main background color. On a complex image, I'll actually do completely separate foregrounds and backgrounds, that way I don't have to worry about where a line from the background starts and ends in relation to the foreground. Below is today's color layer.
Step 8 (the background color)
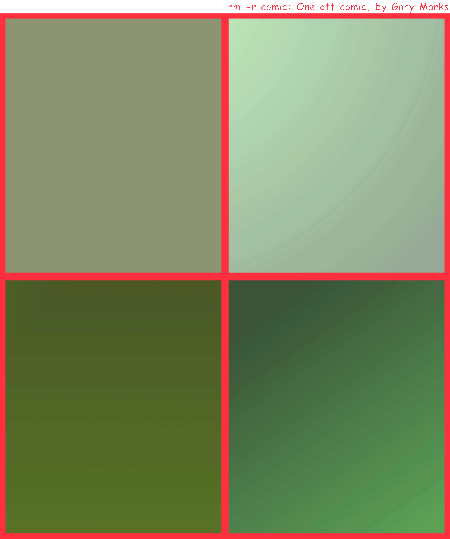
This step has changed on occasion for me. I used to just fill the background in with a solid color. When I did that, I just filled in the color layer. Now, however, I'm using gradients,
so I use my background layers. I never really look at the background layers by themselves (unless it's a complicated image and I'm drawing a completely different image on them), but I'm including them separate below, along with the way I look at them, so you can better see what those layers look like.
Step 9 (the text)
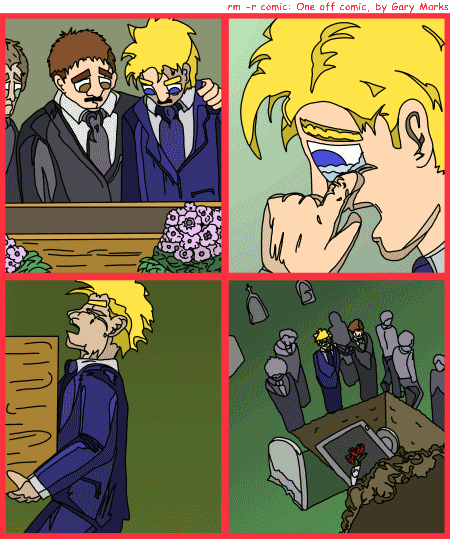
Here, I add all the text I'm going to have on the comic. I'll modify and play with the dialog here, normally trying to streamline it a bit. I do after all tend to babble on a bit now and again. Below is the image of everything with the text on top of it.
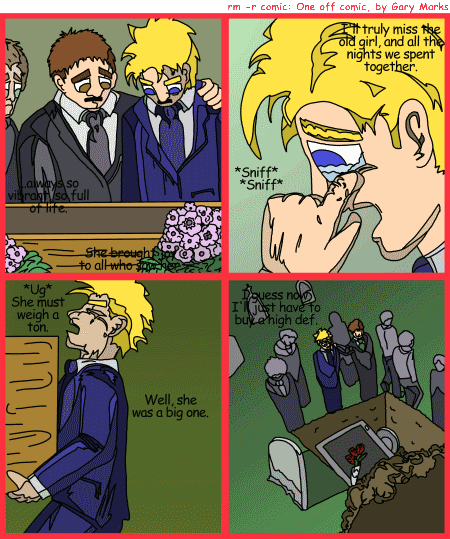
Step 10 (the final step, the text bubbles)
Once the text is done, and typed in, I add a layer for the text bubbles. As you can see above, the text is hard to read without the bubbles. For the bubbles, I use a new layer, and I use the oval select in GIMP. I fill it with white, then I use a path to create arrows for the bubbles. Once all of this is done, I save it, reduce it, upload it, etc. Below is the finished product.
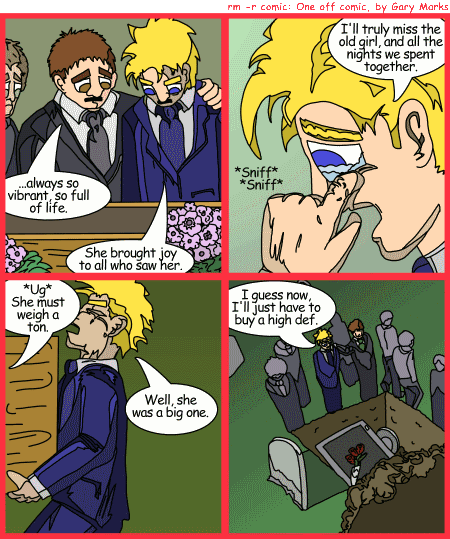
So, that's how I do the comic. If any of you ever have questions about it, just shoot me an email, and I'll try and answer it as best I can.
|


